Showing posts with label Tutorials. Show all posts

Monday, August 1, 2016

My Homeschool Planner

     As part of getting my house organized, I've also been working on getting my homeschool organized for this coming year.  I've always kept school records in a very loose informal way, but this year I wanted to have everything in one place, and easy to access and look back on.  I started looking for homeschool planners that would meet my needs, but didn't really find anything that recorded information the way I do.  Or they were ugly, and since I will be looking at it a lot during the year, I wanted something I enjoyed looking at.  So I decided to make my own, and I couldn't be more pleased with it!
     It has everything I need, and nothing I don't.  Making it was a fun experience, and I definitely want to make another one for next year.  For those who are interested in making their own planner too, this is basically how I did it. (If you don't have time to make your own, I am sharing the pages I've made with you.)
    Starting with the cover, I went outside, found a couple of my favorite flowers, and painted them, keeping a space in the middle for the text.  I then scanned the painting onto my computer, and printed it off on card-stock. The text is a separate document that I printed out over the picture.  This took a few tries to get it right.  I then laminated it and another blank piece of card-stock for the back cover.
     The first pages in my planner are attendance keeping charts for all of my children. It seems silly to keep attendance for a homeschool, but the state I live in requires it.  I don't have copies of this to download, but you could easily make your own. Next I have student schedules.  This helps the kids and I keep track of what needs to be done each day.
     Most of my planner is taken up with a calendar and weekly planning pages.  For the calendar, I printed one off from my computer's Works program.  I printed out as many copies of the weekly planing pages as I do school. In hind sight, I wish I had went ahead and printed out 52. I use these to keep a journal of our year, and the calendar is used for planning ahead. I printed out double sided whenever I could, while still preserving the layout I wanted. To do this, you will need 24 lb. paper, as 20 lb. paper is too transparent.


      The rest of the planner has grade record sheets, a place to record what curriculum we are using this year, reading logs, craft ideas, field trip recorder, and my History book schedule, as I make up my own curriculum, and then tend to forget what I had planned.
      After I got everything printed up and arranged the way I wanted it, I went to Office Depot, and had it spiral bound for about 3 bucks. Not bad for a customized planner.
     Here are the PDF links for most of the pages I made for my planner.  The cover is in two parts; the text and the picture. The text will need to be printed out first, then placed in the printer again, and the picture printed out over the text.  Of course, you could also make your own title, and print that over my picture, or vice versa.  Feel free to make it your own.  The only stipulation I have, is that you do not sell it.  Good things should be free!  Enjoy.
cover text
cover picture
weekly planning pages
Student Schedule
Book log
Christmas crafts
history crafts
field trips
grade record keeper
Curriculum

Monday, November 23, 2015

Angel Craft

     I am doing a Christmas themed craft with my Sunday school class for the five weeks leading up to Christmas, so I've been looking for craft ideas that are fun and easy, and don't require a lot of materials and prep-work.  My kids made folded paper angels a couple of years ago, and had a lot of fun with them, so I thought it would make a good craft for my class.  When I looked on-line for a template, I couldn't find one that I could print directly on to card stock.  All the ones I found were either too small, or it had writing on the template.  I ended up making my own pattern, and am sharing it, in case anyone else would like to make a similar craft. Here is the link for it.  You just cut it out on the lines, and then fold it into a cone and slide the slots together.
 
     Here is some that the kids made.  They used glitter glue to decorate them.

Friday, October 23, 2015

Felt Leaf Garland

     The kids have been really wanting me to decorate our house for fall.  Apparently, "Everyone else's house has decorations up, but ours doesn't."  "Everyone" being a couple of friends of ours.  So we got some Jack O' Lanterns  for the out-side, and I told the kids that if we got the inside looking clean and pretty, I'd do some inside decorating too.  They helped out and got the house clean, so we got some pretty little gourds, (Samuel has named all of his) and I made this leaf garland with the twins while Anna was getting her allergy shots.  It was so easy, the twins were able to help a lot, and it didn't take long to make. 


     First we gathered leaves to use as patterns.  We have oak trees, so that's what we used.  Then Samuel and Abriel traced the leaves onto freezer paper, and cut them out.


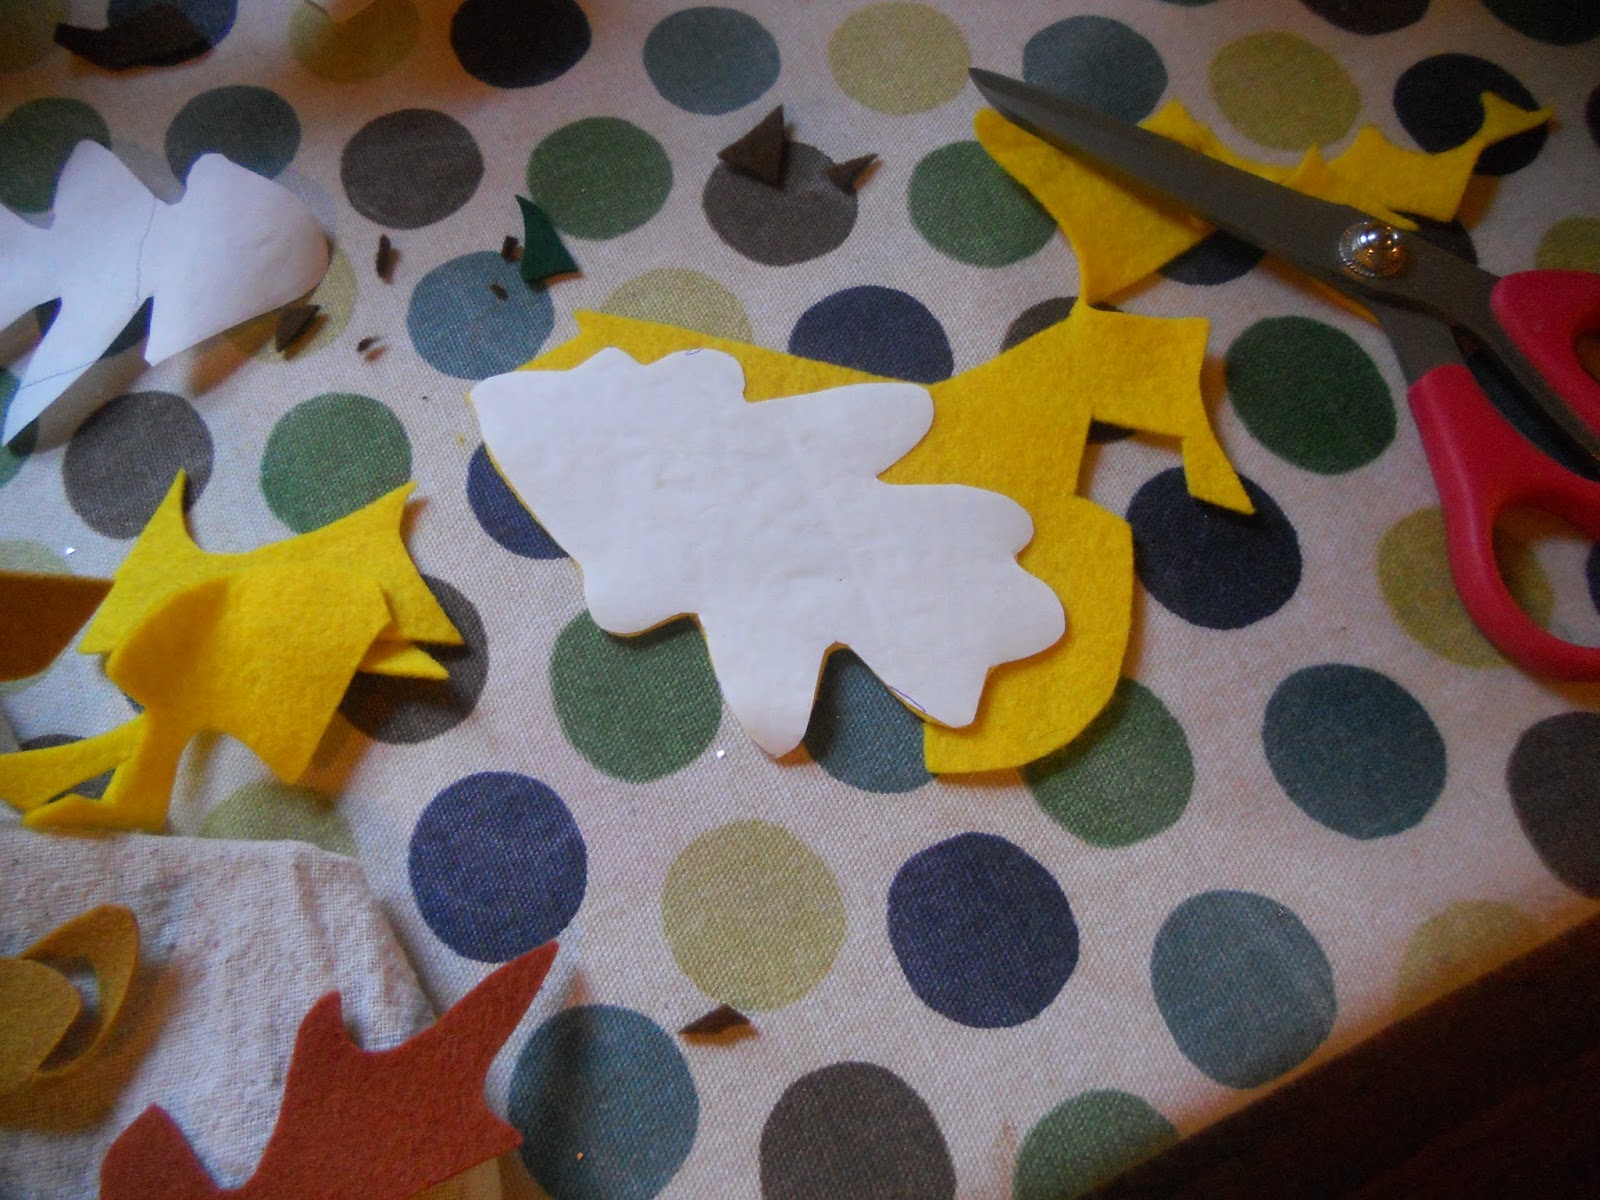
     I then let them iron on the pattern to different leaf colored wool felt. 
 
 
I cut out the felt.  Samuel really wanted to do this step, but wool felt is hard to cut through, and I really wanted them to turn out nice, so I did this part.
 
 
     After we had about 16 leaves, we then lay out the leaves on the floor in the order we wanted them.  I had the twins take turns handing me leaves off the floor, while I stitched them down the center with the sewing machine.   
 
 
     All that we had to do then was hang it up!  Super easy and quick, and pretty, too.  It's also a good way to use up felt scraps, if you have a bunch, like I do. 


Tuesday, May 15, 2012

Paint pot holder tutorial

     A little while ago I made this paint pot holder that you can see at Anna's right.  This, being a prototype is a little rough, and the stain didn't work out very well.  I made a couple more for the twins, and they were so easy to make, that I thought I would share how I made them, if anyone didn't feel like spending $18+ dollars on one. 


Here's the materials and tools you need.

Materials:
  One 1"x4" (the length will depend on how many you want to make, but you will need at least 2 feet to make one holder)
  Sand paper, in various coarseness.
Wood Glue.
  4 oz. canning jars.  I have only seen these sold in twelve packs, but they are useful for so many things.

Tools:
  A saw. A hand saw would work, but a chop saw gets it done fast.
  An electric drill.
  A 2 1/2" hole drill attachment like the one seen in the picture.
  Clamps.
Nice, but not necessary, is a palm sander, or any kind of electric sander.
     So here's what to do after you've got all your supplies. Cut two 11 1/2 " lengths.  On one of them, mark three spots to drill your holes.  Make a mark in the exact center, and then measure out from there.  On mine I measured 3 1/2 " away from the center on both sides.  Remember a 1"x 4" is not 4 inches wide.  They are usually 3 1/2", but measure yours to be sure. 
     Put a scrap piece of wood under your board, then clamp it down.  Drill your holes.
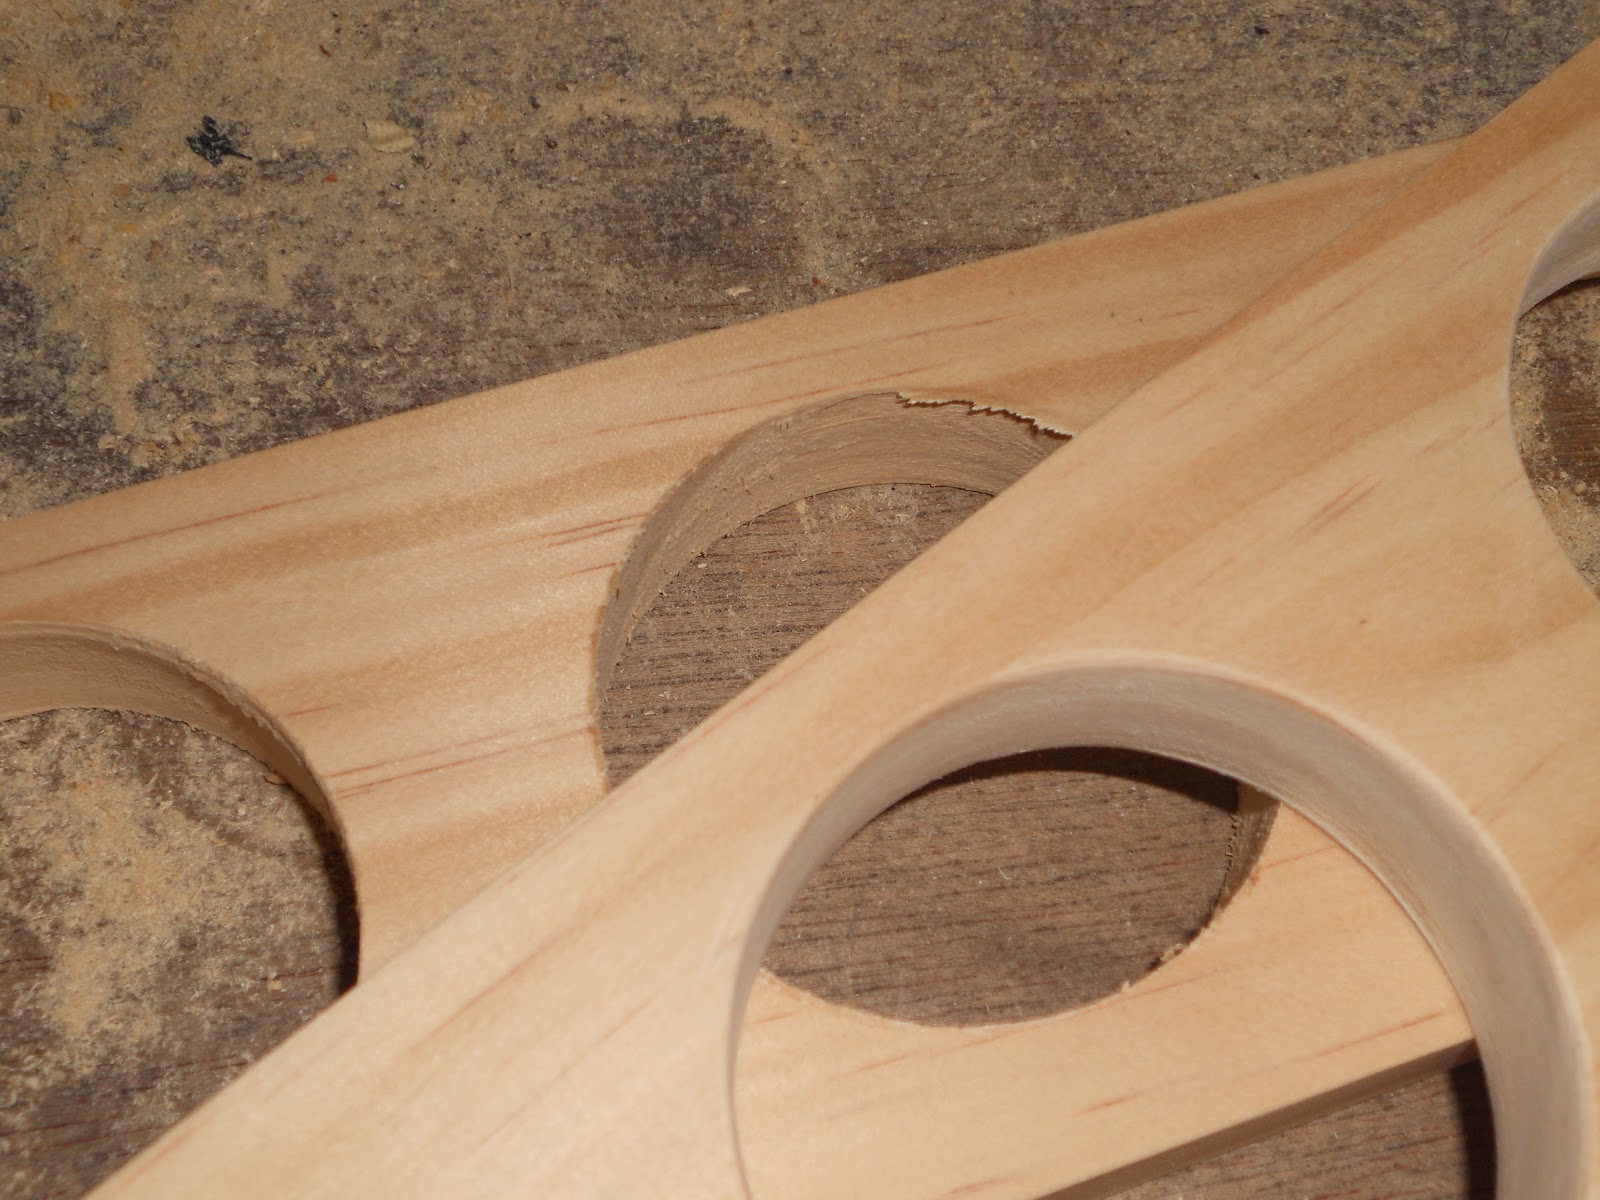
A hole drill makes a rough cut, so you'll need to sand, and sand, your holes smooth.  You will not be able to do much sanding on them after you glue your boards together, so get them as smooth as you can now, but only round the edge on one side.
Now, glue the two boards together, matching them up carefully and clamping.


After the glue is dry, sand it well and put a oil polish on it.  If you sand the edges and corners well, it almost looks like one piece. 


     Put your jars in, and that's it! 

Friday, February 10, 2012

Dyeing Yarn with Natural Dyes

     I decided to dye the wool yarn I bought to teach Anna to knit on, because I thought it would make the process more complete for her, and also because I really wanted to try out some more natural dye stuffs.  The process of dyeing wool is a bit different than silk; mostly because you always have to be aware that the wool can felt up, and it is also very fragile when wet.


The first step is to make your yarn into long skeins.  I am assuming the reason you do this is to keep the yarn from becoming hopelessly tangled while you're dyeing it.  Anna just wound hers on the back of a chair.  A very easy way to do it.


After you take it off the chair, tie it in a few places to keep it together.  Then the next step, I did not do, but really wish I had.  You are suppose to wash the yarn in a gentle detergent in order to wash out the lanolin, and make it absorb the dye better.  I thought that this yarn, not being hand spun, had surely already been processed enough.  Apparently it still could have used a wash, since the yarn didn't seem to take the dye as well as it might, and there was a oil sheen on top of the water, as well as a strong smell of lanolin.  So, live and learn.

Presumably, after you've washed your yarn, you need to soak it in a mordant.  I just used vinegar.  I didn't measure anything, but it might be about 1 part vinegar to 6 parts water.  It has to soak for at least thirty minutes, so I went ahead and prepared my dye stuff while it was soaking. 
      I used onion skins, turmeric, and pine cones, but added tea to the pine cones when they didn't make the water dark enough.  The onion skins I collected over a period of time.  Whenever I cooked an onion, I would just toss the skins in a mesh bag.  Doing this, I got a lot of skins without wasting any onions.
I boiled the onion skins and the pine cones/tea until the water looked pretty dark, and then fished out the bulk of the dye stuffs, but didn't strain it.  The turmeric, I put into the pot right before I added the yarn. It didn't need to boil. After that, I just added the yarn and waited..., and waited.  The yarn really didn't seem to be absorbing the colors like it should, so I gave up getting them any darker after about four hours. 


 After rinsing, and rinsing, (the turmeric took FOREVER to rinse out) I hung them to dry.  Not as dark as I had hoped, but still very pretty.  The turmeric is crazy bright.  It does not look like it was dyed with anything natural.  It's Anna's favorite.
     All in all, a very fun project.  I can't get enough of natural dyeing.  The results are so wonderfully unpredictable.

Tuesday, January 3, 2012

Crocheted Moccasins

In an attempt to keep the twins tootsies from freezing (since they will not wear socks) I made these, very easy to make, moccasins. 
     The tops are made of three parts; the toe, which goes from the top of the arch to the toe; the heel, which is a long rectangle sewn onto the toe part after it's made, and then the cuff, which I cast on and knitted in the round.  You could crochet the cuff, but it's more stretchy knitted. 
     The sole has a insole of felted wool, (from a sweater) which is stitched to the top seam facing out, then a outer sole of leather.  The inner sole is as long as her foot, (plus a little growing room) and the outer sole is a half inch bigger than the inner sole all around.  I used a islet punch to punch holes in the leather before sewing it on to the moccasin with yarn. 
     You only need to make three measurements to make your own pattern.  The first is over the widest part of the arch. That will determine how wide you need to make the toe part. That's the width all the way till I rounded off the last three rows at the toe.  The second measurement is from the top of the foot where it meets the ankle to the toe.  That is how long the toe part needs to be. The third is around the heel to where it will meet with the toe part.
    

Sunday, November 21, 2010

How to Make a Suet Log Feeder

     We were reading about Tommy Tit the chickadee in Burgess's Bird Book, and it talked about how he  appreciated the suet that Farmer Brown's boy put out for him, and so we decided to make our own suet feeder. 
     To start with I got a log from where we had cut down a wild cherry sapling.  I clipped off all the little off shoots, and then my husband drilled four holes through it with a 1" butterfly drill bit.   A 1 1/4 " one would have probably worked better, but this was all I had on hand.  The holes are placed: one at the top drilled through the side, two in the middle drilled through the front, and one in the bottom drilled through the side.  I was thankful that Dave did the drilling for me.

Next, I drilled a hole in the top to screw in the eye bolt.  I already had the twine strung through it.  Anna helped screw it into place, using the drill bit for leverage.
Then, I drilled holes right below the feeder holes to insert perches. Using the twigs I had cut off the log in place of dowels, I dropped a bit of glue down in the holes, and Anna hammered the twigs in. 

Next step, making the suet.  Here is the recipe I used:
1 cup shorting
1 cup peanut butter
1 cup pure corn meal
1 cup sugar
3 cups quick cooking oats
1 cup bird seed
Melt the shorting and peanut butter until creamy. ( I set a metal bowl directly on my burner, over low heat) Add the remaining ingredients and stir. 
When it's all mixed up, it will be thick enough to smush it in the holes by hand, if you don't mind being a little messy. 
All finished, and waiting for the birds to discover it!   The left over suet was frozen in a zip lock bag to use for refills.  I can't wait to see what kinds of birds we get!

Wednesday, November 17, 2010

Make Your Own Toddler Crayon Blocks

My little ones love coloring and crayons, but unfortunately their favorite thing to do with crayons in to peel off the paper and break them into little unusable bits.  After reducing our full crayon box to a few little bits and pieces knocking around, I decided something must be done.  Since depriving my kids (even little ones) of art materials isn't an option; what we needed was a toddler friendly crayon.  The answer? Big chunky crayons with no paper wrappers.  It took me awhile to think of what I could use for a mold, since I wanted block crayons, not circular like you would get by using a muffin tin, and then finally it hit me; my ice cube tray! I never use it anyway; the only reason I bought it was to freeze homemade baby food, which I'm not doing anymore.  Well, I thought since it was plastic that I could just put broken bits of crayon in the tray, and microwave it.  It turns out that crayons are impervious to microwaves.  Who knew?  So I had to melt them first, then pour the wax into the mold.  I love the way they turned out!  They're very smooth and fun to hold, and are really great for coloring in large areas.  The twins love them, and they haven't tried eating them yet!