With canning season nearly upon us, I made some gift labels to fit on top of jar lids. I love giving (and receiving!) home canned goodies, and I needed some cute labels to make them extra special. I didn't make them season specific, because you never know when you'll need to have a quick gift to give. They are available free, for anyone to use. You can download a printable PDF here. Enjoy!
Showing posts with label Crafts and Projects. Show all posts
Saturday, June 18, 2016
Tuesday, January 5, 2016
Little Moomins
I've been doing a little post Christmas crafting, now that I no longer have project deadlines looming over me. I decided to make something that I've been wanting to for awhile; something just for fun.
I loved the Moomintroll books as a teen, and still love reading them occasionally. I've always wanting to make little dolls of the characters. There is something so endearing about them. I never could figure out how to make them, until I discovered needle felting,but it's only been recently that I felt my skill level was up to doing anything more than birds and mushrooms.
So, here are my three favorite moomins, Moomintroll, Snufkin, and Little My. Little My has always been my favorite, despite her naughtiness.
Moomintroll is the only one who is completely needle felted. For the other two, I used a combination of techniques. Other than the felted heads, they are made very similar to Sally Mavor's wee folk.
Snufkins hands were particularly challenging. I would have liked to have made Little My's the same, but it wouldn't have worked out, with her being so small.
It was a fun little project, but I'm not sure what I'll use them for. Maybe I'll attach strings to their heads, and use them as ornaments.
Tuesday, December 1, 2015
Jesse Tree Ornaments Days 21-25
Today is the first of December and the day we finally get to start our Jesse Tree devotionals. I did get all the ornaments made in time. (Barely.) Yay! I finished them today, and got our branch up. It hasn't stopped raining since we've gotten back from thanksgiving traveling, so I gave up on it stopping long enough for me to cut a branch and take pictures, and had to take the pictures for the last five ornaments in the rain. Our advent wreath is still bare because I haven't felt like collecting wet greenery in the rain. I am really getting tired of all this rain. Anyway, here are the final ornaments, and our Jesse Tree awaiting it's first ornament.
That's it for the ornaments, and now for the tree it's self. Finding a place to put a tree and 25 ornaments is a real challenge in my little home, where every bit of space is already being utilized. I had to move our toad to Anna's room, and the potted plants to the dining room, where I am hopping the will not die from lack of light until January.
I chose to have a bare branch for the Jesse Tree. I thought a little fir tree right next to our big Christmas tree would look a bit silly. I hung some glass icicles on the branch to pretty it up until it gets its ornaments. The ornaments are in the numbered bags at the base of the branch. The nativity scene is also on the table. Unfortunately the TV dominates the whole scene, but oh well. There's not a lot I can do about that.
Day 21: Return to the Land
This is suppose to be a wall, and it is just a little piece of wood with rocks glued on to it. Easy and simple to do, but I like the way it looks.
Day 22: The Star
This is made with wire. The same difficult jewelers wire I used for the grapes. This time as I was trying to wrangle with it, it whipped around and stuck into my pinkie. It really hurt, and I will probably never make another wire ornament in my life, but... It did turn out pretty. This is Anna's favorite one.
Day 23: Light of the World
Next year I am going to get a real metal clip-on candle holder, but I was trying to spend very little money on the ornaments this year, so this is my makeshift replacement. It's a wooden candle holder glued on to a clothes pin. Not ideal, but I didn't have to buy anything for it.
Day 24: Angels Proclaiming the Coming of Jesus
Angels are so hard to depict. I don't like to make angels look like women, since that's not very biblical, but I still want to make them look ethereal. That's why I love wool roving angels. If only it held up better to touching.
Day 25: The Birth of Jesus
The final ornament of course, is baby Jesus. The "manger" is crocheted, and the baby is felted. That's it for the ornaments, and now for the tree it's self. Finding a place to put a tree and 25 ornaments is a real challenge in my little home, where every bit of space is already being utilized. I had to move our toad to Anna's room, and the potted plants to the dining room, where I am hopping the will not die from lack of light until January.
I chose to have a bare branch for the Jesse Tree. I thought a little fir tree right next to our big Christmas tree would look a bit silly. I hung some glass icicles on the branch to pretty it up until it gets its ornaments. The ornaments are in the numbered bags at the base of the branch. The nativity scene is also on the table. Unfortunately the TV dominates the whole scene, but oh well. There's not a lot I can do about that.
Tuesday, November 24, 2015
Jesse Tree Ornaments Days 16-20
I'm nearly finished with all of my Jesse tree ornaments. In fact, I only have one more to make, but I'm the least inspired about it, so it might take awhile. Here are the next five.
Day 16: Prophecy of the Gentle Shepherd
This is the last sheep ornament. Even though it is needle felted like the ram, it doesn't look like a repeat of the same ornament. The legs and the shepherd's staff are made with pipe cleaner wrapped with tapestry wool.
Day 17: The Prophecy of the Suffering Servant
I used shimmery Sculpy for the cross. I wanted something very simple and symbolic of a cross, rather than just making a little cross.
Day 18: The Prophecy of the New Covenant
I wanted this heart to be different than the heart I made for Ruth and Boaz, so I needle felted a heart. I was going to embroider writing on it, but I couldn't figure out how to make it look nice on the needle felting. My solution was making a little quill pen for it. It's not quite as straight forward as it would be if it had writing on it, but I really like the way it looks. The prophecy ornaments are hard, because they are not connected with a recognizable image like the Genesis and Exodus ones are.
Day 19: The Prophecy of Bethlehem
This one was not thought through very well. I had some ideas about what I wanted to do, but ended up just cutting out a silhouette and sticking it onto some cork I had. I don't really like it, and will probably redo it at some point.
Day 20: Exile
I had planned on doing something really simple for this one. I showed my idea to the kids, and they all didn't like it. It was just representing flames, and they were all like, "Where's the furnace?" So I made a little clay furnace. And just because I am who I am, I researched on how ancient furnaces were constructed, and based my ornament on that.
Tuesday, November 17, 2015
Jesse Tree Ornaments Days 11-15
The ornaments for days 11-15 are finished!
Since there are three sheep ornaments in the Jesse Tree, I wanted this one to be very different from the other sheep. These are two dimensional wood cutouts glued together, with minimal painting. The effect is peaceful and simple.
Day 11: King David
I was going to do a basic forked branch slingshot, but Anna informed me that they didn't have those types of slingshots back then. Yes, she is my child. So I had to make a historically accurate one. Samuel tested it out a few times before I sewed the bead on, and yes, it really does work.
Day 12: Josiah finds the Law
I tried to make this one a little different than all the other scroll ornaments out there. I liked the idea of having a little bit of Hebrew writing on it, so I just googled "Hebrew font", and printed out an image I liked. I have no idea what it says.
Day 13: The Stump of Jesse
This is the symbol that the Jesse tree gets it's name from. The new shoot coming out of the stump of Jesse. I used a real branch for the stump, and a copper wire for the shoot, with a felt leaf glued on.
Day 14: Lion Laying Down with a Lamb
Since there are three sheep ornaments in the Jesse Tree, I wanted this one to be very different from the other sheep. These are two dimensional wood cutouts glued together, with minimal painting. The effect is peaceful and simple.
Day 15: Prince of Peace
This one was a little more time consuming than the others to make, but I really like it. I used a picture of a dove that someone had for sale on Etsy, as inspiration. I didn't do as much embroidery and I added the crown. I really like making little stuffed felt birds. I've made a cardinal and a duck that were very similar to this, before.
Friday, November 13, 2015
Jesse Tree Ornaments Days 6-10
So far I'm staying on track with my goal of getting all five of my Jesse Tree ornaments finished before December. I now have the next five ornament completed, and ready to show here!
Day 6: Jacobs Ladder
This is a very simple symbol, and there's only so much you can do with it. I took advantage of that fact, and let Samuel and Abriel help with making it. It's basically twigs glued together with some string added for interest.
Day 7: Joseph's Coat of Many Colors
This one took more time than I was originally going to spend on it. I had thought I would just make a felt cut-out of a coat, and embroider some colors on it, but Samuel told me that would not be right, and it needed to be an actual little coat. So that is what I made. Samuel still thought it could have been a little more colorful, but oh well. There was only so many strips of felt I was willing to sew on it.
Day 8: Ten Commandments
This one was really quick and easy. It's just sculpy with roman numerals marked on it.
Day 9: The Promised Land.
I have never made any jewelry before, so I didn't know what kind of wire would work best for this type of project. I got some that was relatively thick, since I wanted it to hold it's shape. It turns out that I shouldn't have worried about it not holding it's shape. This is some really tough wire. I also realized that pliers would have been really helpful. It took everything I had to bend and twist it into shape, but the end result was worth it. The amethyst beads are perfect for the cluster of grapes. I was also able to use the wire to make a little hanger for Joseph's coat.
Day 10: Ruth and Boaz.
I really wanted to use wheat stalks for this one, like I have seen so many other people use. Unfortunately, the only wheat I could find was through online dealers, and it seemed silly to buy sixty stalks of wheat for one little ornament. Then I thought I would look for some grass with the seed heads still attached in my yard. I couldn't find any of that either, so I gave up and did something different. I like it ok, and I learned a new embroidery stitch. The wheatear stitch.
Tuesday, November 10, 2015
Jesse Tree Ornaments Days 1-5
I've heard about a Jesse Tree for years, and know several people that have one, but never looked into what it was all about. I knew it had something to do with hanging little ornaments on a tree every day for Advent, which sounds a lot like my advent calendar, so I really wasn't interested in adding that to my Advent traditions. But I have been looking for ideas on what to do for Advent devotionals. I tried reading Jotham's Journey last year, and found it not really to my liking. No offence to all the people I know who love that series.
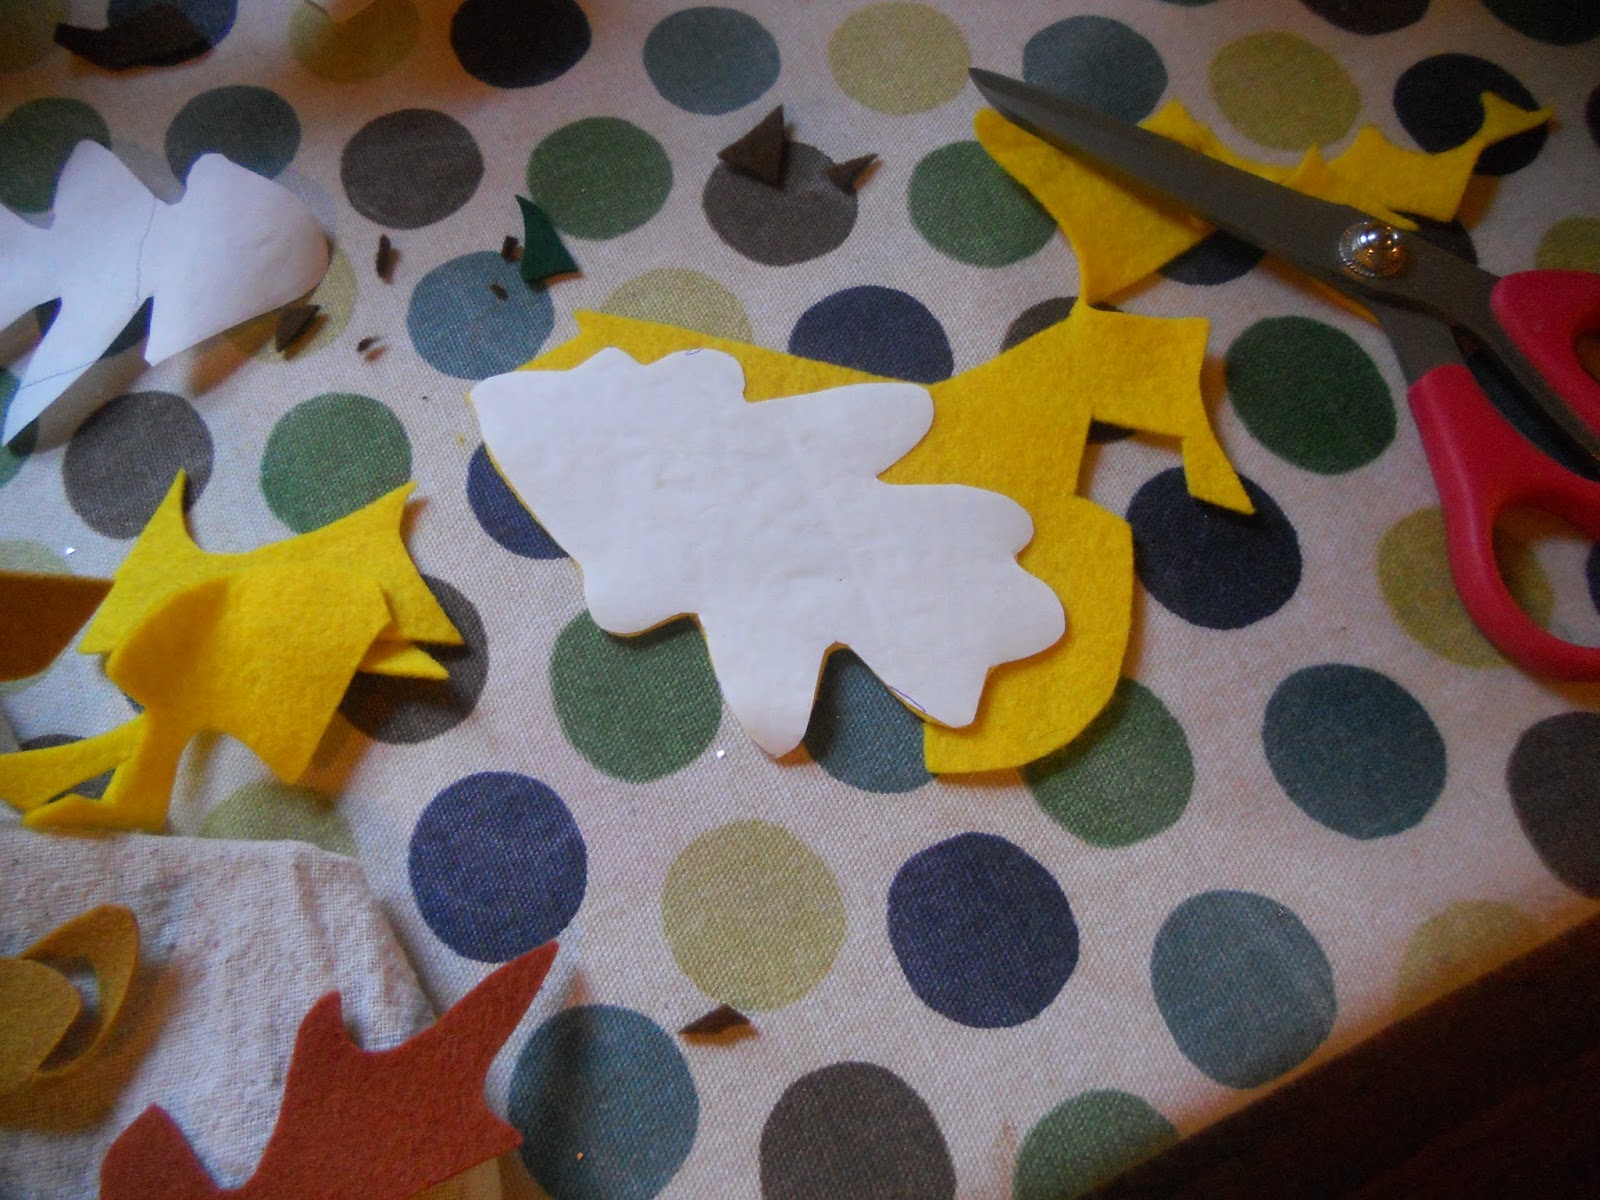
Then I saw a picture of a Jesse Tree on Pinterest, and realized that these weren't just random little ornaments; they told the big picture story of Jesus! I thought, "Wow, how cool is that! " and I've been hooked since. I've become totally inspired by all the little handmade ornaments that others have created, and have spent way too much time on Pinterest, pinning my favorite examples to copy for my own tree. I think it is safe to say that I am a little obsessed with making these ornaments. Ideally, I will have finished them all before December. We all know that "ideally" rarely happens, however, that's the goal. These are the first five. I'll keep posting pictures as I make them.
Day1: Creation
This is supposed to be a globe. I had thought about needle felting one, but I don't want there to be too many of one type of material, so I painted browns, blues, and greens on watercolor paper, and used that to make my globe.
Day 2: Fall of man.
The apple is needle felted, and the serpent is a pipe cleaner wrapped in tapestry wool. Bead eyes, and a felt leaf are the finishing touches.
Day 3: Flood
This is totally copied from somebody else, but it's a great idea, so I copied it as closely as I could. The ark is cut out of half inch pine, and the rainbow is crocheted. So that I didn't have to go out and buy really fine yarn in all the colors of the rainbow, I used embroidery floss.
Day 4: Call to Abraham.
I was very uninspired about the tent. I mean, it's a tent. I didn't want to put a camel on it either. For some reason that just looks odd to me. The little bit of machine embroidery around the edge is my attempt to fancy it up. It looks ok.
Day 5: The offering of Isaac.
The devotional I am going to use says to have a lamb for the symbol on day 5. However, the Bible says God provided a ram for the offering, so that's what I made. It is needle felted, except for the horns. They are made from a felted sweater cut into spirals and sewn on.
That's it so far! Hopefully I'll have five more made up in a couple of days.
Give Thanks
This year I decided to do a little something to prepare for Thanksgiving, so I made a "thankful tree".
Every day the kids and I write something that we are thankful for that day on a leaf.
I am finding that it's even helpful for me to think about what I am thankful for, and to focus on that. It's so easy when you're having a bad day, to just get stuck in that moment. This helps me take a moment to stop and think, "I just spent all day cleaning house, and I am really tired, but I am thankful that I now have a clean house." The kids are really enjoying it too, and have had no trouble in thinking of things they are thankful for.
It was really easy to make. I had some brown packing paper that I had gotten with a package, (free is good) so I used that to make the tree part. I divided it into three sections, and braided the first part to form the trunk. In order to make the limbs branch out more, I ripped the paper long-wise to divide the main limbs. I then tried to tape the tree to the wall, but that did not work out at all. The tree was too heavy, and it kept falling down. So I got out my staple gun, and stapled it to the wall. The kids were a little shocked, because it seemed so permanent, but really, the little holes from the staples will be easy to fix, and the tape might have left a residue or ripped off the paint.
For the leaves, I found a template on-line and used different colors of construction paper. The leaves are taped on, but only with scotch tape.
Friday, October 23, 2015
Felt Leaf Garland
The kids have been really wanting me to decorate our house for fall. Apparently, "Everyone else's house has decorations up, but ours doesn't." "Everyone" being a couple of friends of ours. So we got some Jack O' Lanterns for the out-side, and I told the kids that if we got the inside looking clean and pretty, I'd do some inside decorating too. They helped out and got the house clean, so we got some pretty little gourds, (Samuel has named all of his) and I made this leaf garland with the twins while Anna was getting her allergy shots. It was so easy, the twins were able to help a lot, and it didn't take long to make.
First we gathered leaves to use as patterns. We have oak trees, so that's what we used. Then Samuel and Abriel traced the leaves onto freezer paper, and cut them out.
I then let them iron on the pattern to different leaf colored wool felt.
I cut out the felt. Samuel really wanted to do this step, but wool felt is hard to cut through, and I really wanted them to turn out nice, so I did this part.
After we had about 16 leaves, we then lay out the leaves on the floor in the order we wanted them. I had the twins take turns handing me leaves off the floor, while I stitched them down the center with the sewing machine.
All that we had to do then was hang it up! Super easy and quick, and pretty, too. It's also a good way to use up felt scraps, if you have a bunch, like I do.
Friday, December 14, 2012
Misunderstandings
I've been spending some time lately making Christmas presents for other people's children. Unlike the gifts I've been working on for my kids, I've been working on these things in front of the kids. This has caused no small amount of misunderstanding with Samuel. He has somehow got it into his head that I am only making toys for other children, and he wont have any toys on Christmas. His little heart is broken, and I can't seem to make him understand that Mommy has been working on toys for him too. He has gotten Abriel worked up about it too, and she has started coming up with very specific things that she wants for Christmas. What she has asked for is a stroller and a Violet root child. Luckily, I'm already making them. It's nice when what you want for your child and what they want happen to coincide. I will be glad when Christmas is here, and they will realize that I haven't forgotten them.
And in case your wondering, this is what started the big fuss.
A little camping set for my niece. It has a tent, sleeping bag with pillow, and a campfire. I'm thinking about making some of these to sell in my Esty shop.
And a little doll for my granddaughter. The body is made from a felted angora sweater, so it's super soft and snugly. This is the first time I have stitched the hair directly on to the head. I had some yellow fingering weight wool yarn, that wasn't enough to make anything much with, so it was perfect for this. I didn't fill in the whole head, as it is mostly covered with a crochet cap, but the little bit peaking out looks cute.
I really like making these types of doll. I use the pattern for the "floppy doll" out of "Making Toys With Children."
Along with making toys, I finally started dyeing some of my wool roving. I say finally, because even though I love dyeing silk and wool yarn, I was very intimidated by dyeing wool roving. I had this vision of it turning into this big felted blob the instant I submerged it in hot water.
I needed some colored wool for projects, and was even planing on buying some, but since I hate buying what I can make myself, I thought I would give it a try, and just see. It turned out to be easy, easy, easy. The colors are beautiful, it did not felt at all, and it's so much cheaper this way! All I did was very gently push the wool down into the dye bath, let it sit for a few minutes, then scoop it up with a long spoon. The water drains out of it quickly, so there is no need to squeeze it. I then put it in a colander and ran cool water over it, and let it dry. I then got to use some of it to make the "fire" in the doll campfire!
Thursday, November 1, 2012
Hello November
October was here and gone, and I feel like I've just blinked. Why does time go so fast when you need more of it?
We've already had our first snow; (in October!) luckily not as much as we were predicted to get, and our power stayed on. Yipee! Normally you just need to look at a power line funny, and our power goes out. The kids played out in the slush a little bit, until Samuel threw a slush ball at Abriel, and that was the end of that. I also realized that the kids have all out grown or lost their mittens, and I needed to make some more. I found a great free mitten pattern online at five green acres. I had some wool sweaters left over from some other stuff, and some unbelievably soft cashmere sweaters that I had been saving for the perfect project. I used the wool for the outer layer, and the cashmere for the lining. They are sooo soft inside, it's like heaven. I love thrift store sweaters!
I just finished them tonight, after the weather warmed up some, but they'll be ready for the next time it snows.
Halloween night was still pretty frigid. Not exactly a great night to be out trick-or-treating. We shivered through a few minutes of trunk-or-treating at our church, and then decided to call it a night.
That's the way to trick-or-treat. You don't have to drag your kids around a neighborhood, but you still get loads of candy. Candy, which I am contemplating eating right now. Not that I need any, but less candy for the kids would be better for them right? So I'm really just thinking of the health of my children right now. Right.
Thursday, July 5, 2012
Hoping for some more sleep
Summer time has grown to mean sleep deprivation for me these past couple of years. The twins wake up at the first glimmering light of dawn, which in June and July is around 4:45. Dave, however works until 11:45 pm, and usually we don't go to bed until after 12, which means 5 am rolls around way too soon.
Yesterday, being July 4th, we took the kids to see fire works. It was about a half mile walk to get there, then the kids danced for at least a hour to the band that was playing. After walking another half mile back to our car, and getting home at 11:00, (when their usual bed time is 7:30) you would think that they just might sleep in a bit. But no; not our little sunshines. It's pre-dawn and Samuel is standing next to my bed just like every morning, asking for breakfast. I can't see at 4:30. My body just doesn't want to function at that hour in the morning. Something had to be done. So today I made quilted shades. (Thank you Elisha, for your idea!)
These are button shades, so they can be down like this, ...
... or up like this.
You could put another row of buttons in the middle for another shade height, but this window is so small, I didn't see the point. I mounted it by screwing a 1"x1" board to the ceiling above the window, then put adhesive Velcro to the blind and the board. Couldn't have been easier.
For the button loops, I just strung a bit of yarn through the bias tape and tied it in a loop. This was the best thing I could think of with what I had on hand, but I might change it at some point. Or not.
I've never done any quilting before, so this was a learning project. Not being a quilter, I didn't have any batting on hand, so I used an old fleece throw. I doubled up the layers so it would block out all the light, and boy, does it! It looks like night in their room when it's down. The fleece, being stretchy, probably isn't the ideal batting material, but I had fun with it. I can't wait to find something else to quilt. I also can't wait to see if this works for it's main purpose. Getting the kids to sleep in past dawn.
Wednesday, May 16, 2012
What I've been working on
I thought I'd share some things I've been working on recently. I have a big list of things I want to make the kids for Christmas, that I really should be working on, but I find myself getting side tracked a lot.
This is a crayon roll I made for Anna. Not exactly an essential item, but I wanted to make one.
I made the pockets for the block crayons a little too shallow, so that's kind of irritating, but other than that, it turned out pretty good. Anna picked out the fabric with her favorite colors in it.

These are the beginning of what will be a whole set of alphabet cards. I had been admiring this beautiful set of German alphabet card, but being in German, I didn't see the need in getting them. Then, The Wooden Wagon started carrying similar ones in English. I was so excited... until I saw the price! $13.00 for a little pack of cards is just ridiculous. They were also a lot smaller than I had envisioned. Sooo... I have started painting my own. Yes, I am stealing their designs, but oh well. I might change a few of the animals, such as, I would really like the A to be an alligator instead of an antelope. I painted these during the kids art time today, and will probably take advantage of this time to paint all of them. I haven't painted with water colors in awhile, so it was fun getting back in the groove.
This is a crayon roll I made for Anna. Not exactly an essential item, but I wanted to make one.

These are the beginning of what will be a whole set of alphabet cards. I had been admiring this beautiful set of German alphabet card, but being in German, I didn't see the need in getting them. Then, The Wooden Wagon started carrying similar ones in English. I was so excited... until I saw the price! $13.00 for a little pack of cards is just ridiculous. They were also a lot smaller than I had envisioned. Sooo... I have started painting my own. Yes, I am stealing their designs, but oh well. I might change a few of the animals, such as, I would really like the A to be an alligator instead of an antelope. I painted these during the kids art time today, and will probably take advantage of this time to paint all of them. I haven't painted with water colors in awhile, so it was fun getting back in the groove.
I am making slow but steady progress on the farm play mat. The end is in sight at least.
I love the way the different colors and textures combine. Although time consuming, this has been an enjoyable project to work on. It is so mindless that I can watch a movie while working on it, or just zone out with it. It's rather therapeutic.
Subscribe to:
Comments (Atom)

